
Backup and restore
Protect your saved setup with an encrypted backup before a migration, major edit or clean installation.
Export a local backup
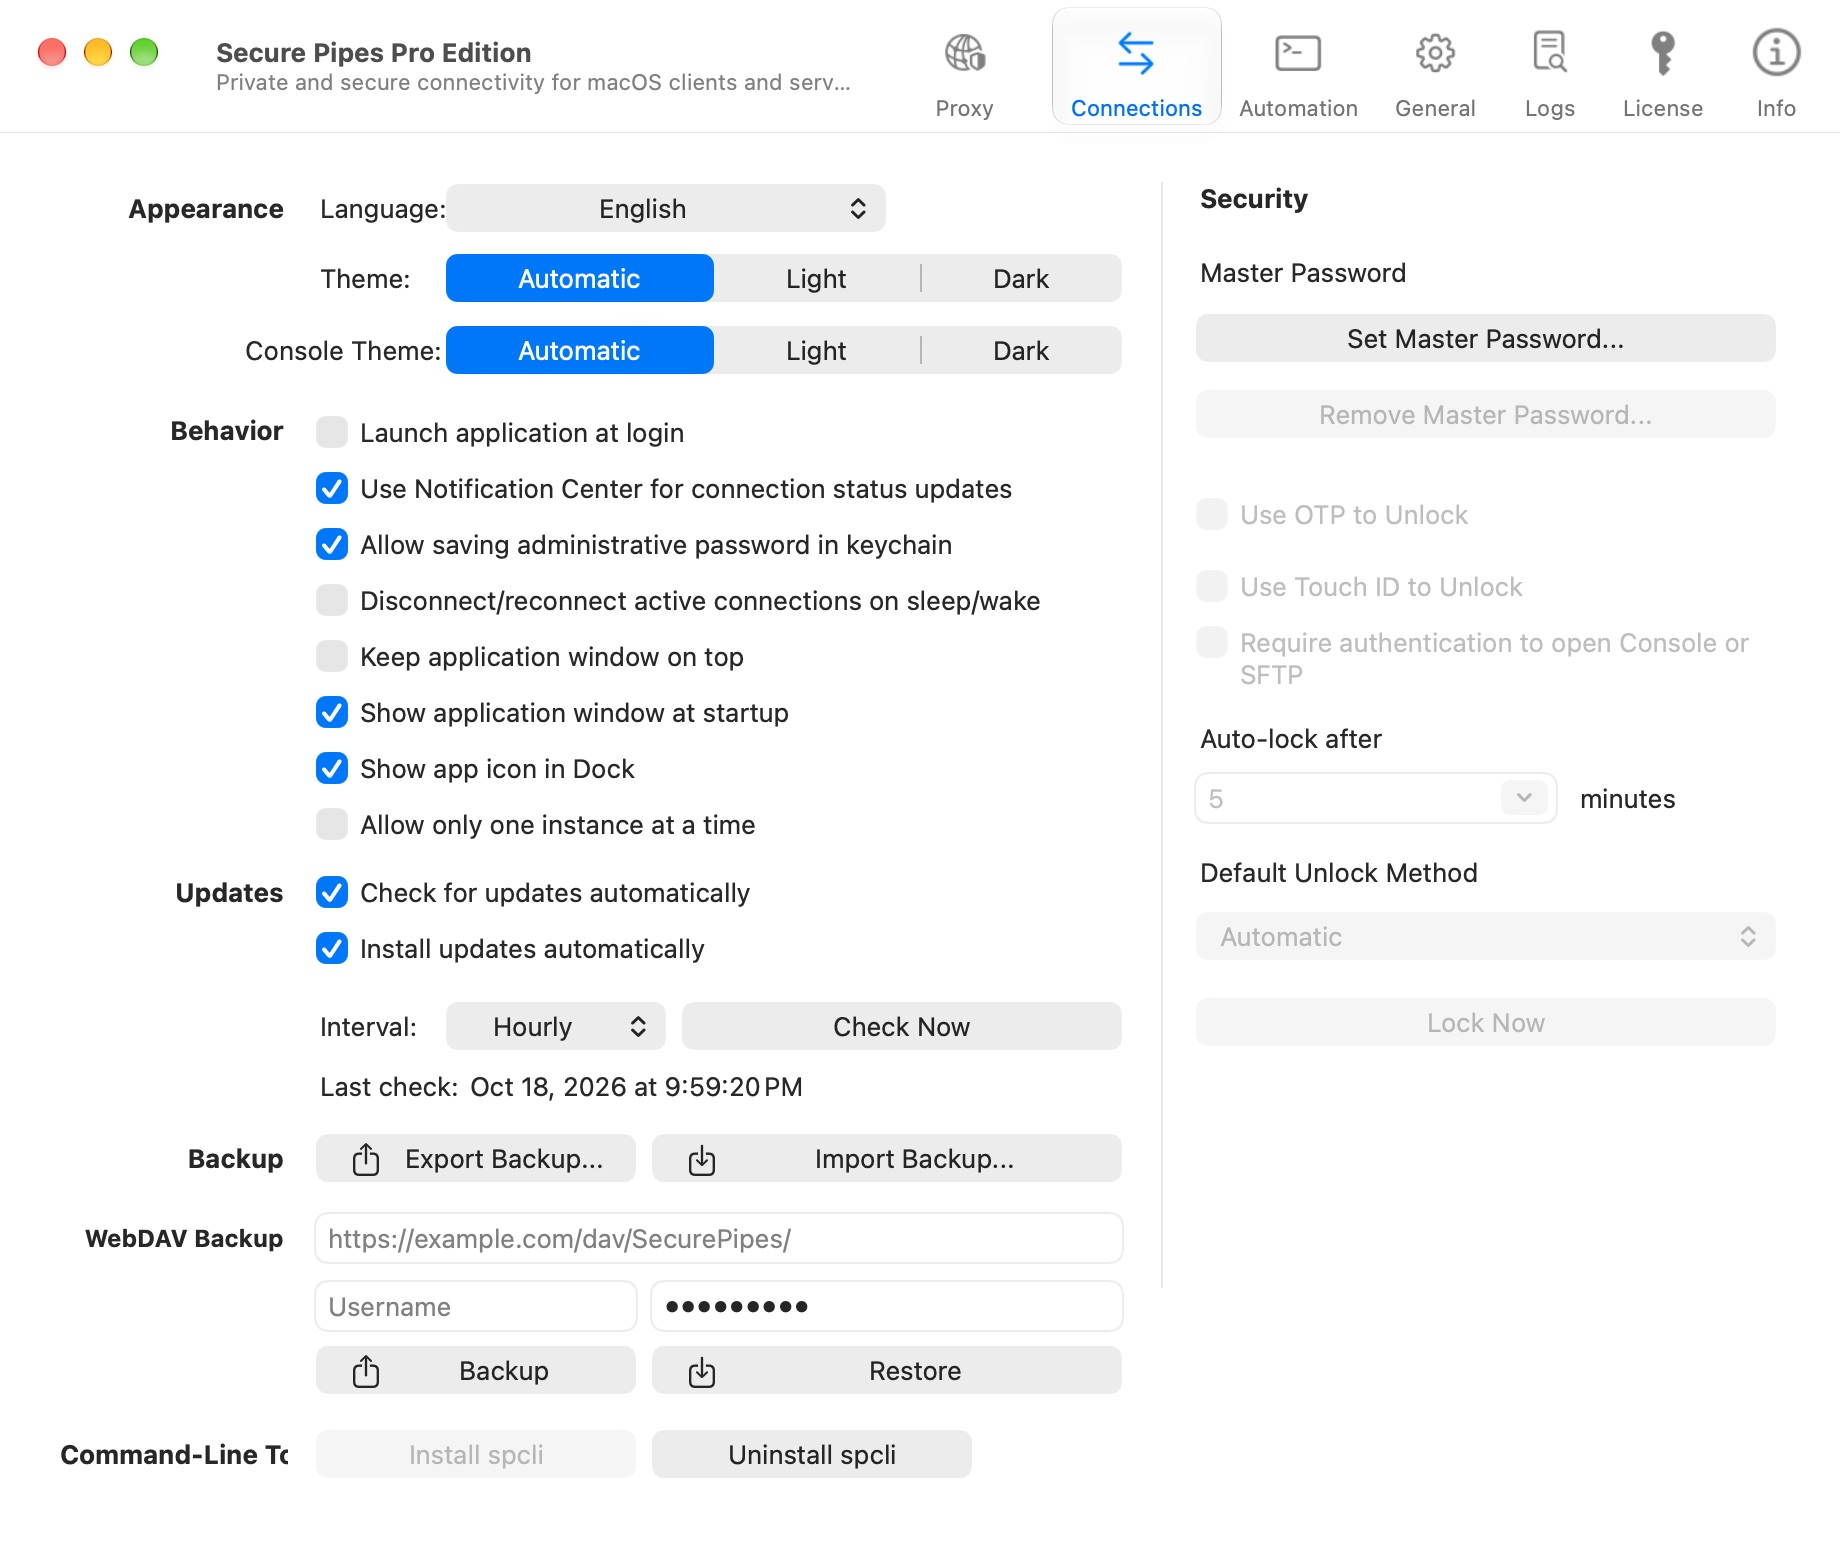
Open General → Export Backup…. Set and confirm a backup protection password, optionally remember it in Keychain, and save the .securepipesbackup file somewhere you control.
The backup password protects the encrypted credentials payload. Keep the file private as well: connection metadata is not a reason to treat the entire file as public. Store the password separately from the backup and keep an additional copy away from the Mac.
Do not confuse the backup password, app master password, share password and SSH password. They serve different purposes. Forgetting a backup password can make its protected credentials unrecoverable.
What is backed up
The current format includes connection records, host presets, supported app preferences, proxy servers, DNS/routing configuration, and supported saved credentials in the encrypted payload. LAN sharing settings and credentials are included, along with configured source-IP filters.
A backup is not a complete disk image. Do not assume it embeds private-key files from arbitrary paths, transfers your license to a different Mac, or grants system-extension/admin approval on the destination. Keep separate secure copies of identity files and follow the license workflow for a different device.
Runtime connection state and security-notice consent are not equivalent to configuration. Restoring settings must not be treated as authorization to start a shared listener automatically.
Restore safely
- Export the current configuration first if you may need to return to it.
- Stop active connections and LAN sharing before restoring. Stop any other sharing mode if it is active.
- Choose Import Backup…, select the file and supply its protection password.
- Read the app's result. A wrong password, malformed file or active-service guard is a failed restore, not a partial success to ignore.
- Inspect restored hosts, routes, listener addresses and credential availability before reconnecting.
Older supported backups can omit newer LAN settings; restoring an older format should not be assumed to reset those settings. Review them explicitly after a migration.
WebDAV backup
Enter an existing WebDAV folder URL and its account information under WebDAV Backup, then choose Backup or Restore. Put the folder path in the URL, for example https://example.com/dav/SecurePipes/.
Use HTTPS: HTTP does not encrypt the WebDAV credentials or transfer at the transport layer. Check server permissions and retain an independent local backup. WebDAV backup/restore requires Pro after the shared trial.
Verify a backup
A saved filename alone is not a recovery test. Check that the file exists and keep its password available. For critical migrations, test restoration in a controlled environment before removing the old setup. Never attach a real backup to a public bug report.
Based on Secure Pipes 2.0.14 · Updated October 18, 2026